
Sept. 18, 2025
3D Texture Painting with SnowTex
Upcycle plain old cardboard into these creepy-cute, Halloween magnets using cardboard, Americana Acrylic paints, and SnowTex. These customizable shapes can be used for decor, party favors, and more!


Section 2 - Add dimension with SnowTex
Using a palette knife, scoop SnowTex from the jar and fill in areas of the design. Build up different areas to create highs and lows, as well as give your piece a tufted look. Work around the drawn outline to leave a "seam" with the SnowTex. Clean up the details using a liner brush. TIP: affix the back of the cardboard shape to a small square of freezer paper to handle without disturbing paint, and it won't stick to the paper while drying!


Section 5 - Add color
Any DecoArt acrylic paint would work great to finish this project. I used Americana Acrylics because they dry matte, and I wanted them to give the feel of tufting. Pastels are a fun twist for a Halloween aesthetic, so I paired some beautiful pastels with some jewel tones for a vibrant look. Using the liner brush, lay paint into recessed lines. Allow to dry and then paint higher areas of the pieces with colors of choice. TIP: Apply paint in a circular motion to fill in the texture with paint. Allow to dry and mix in a bit of white to each color to create a highlight color. Load the brush and dab off most of the paint to drag the lighter color across the textured surface to emphasize the texture.


Section 6 - Add magnets
Once dry, add magnets to the back of the pieces. Use magnet tape, strips, circles, or sheets. Adhere to the back and they are ready to display! Some additional options include gluing a string/ribbon to create a garland, gluing two pieces back-to-back to make an ornament, or gluing a string to the back to hang each piece on the wall as tiny artworks.


Check out MORE project ideas!
Introducing: Stained Glass Acrylic Paints
Stained Glass Acrylics are a new and exciting art material to use in your craft, art, and diy applications. Honor the traditional technique of stained glass while using accessible and creative materials! Create your own faux blown glass or stained glass looks on any upcycled translucent surface or even use flexible plastic sheets to cut and create unique sculptural and functional décor.
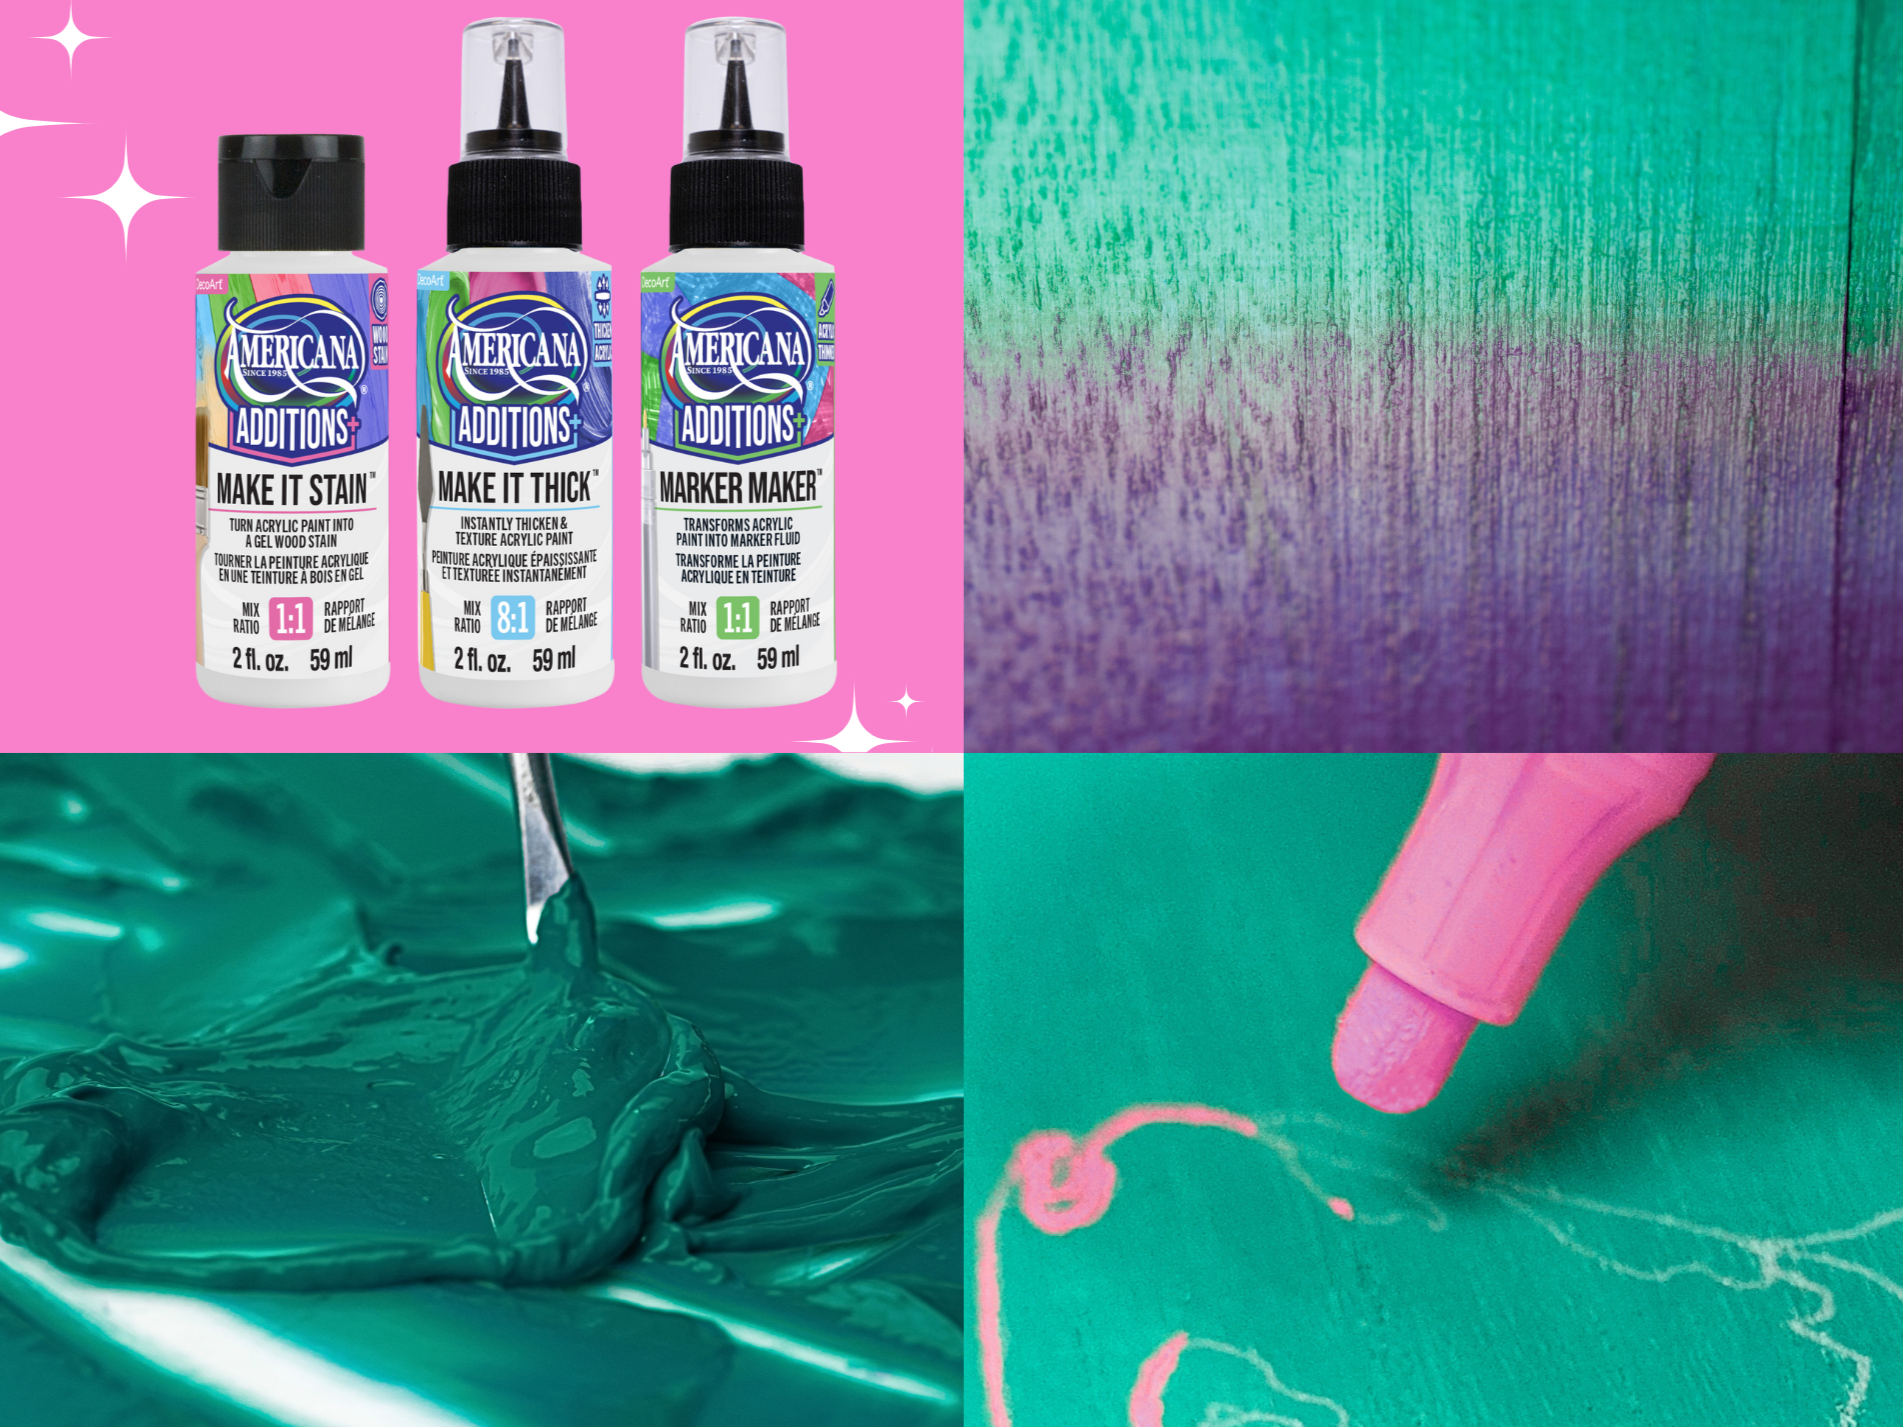
Introducing: Americana Additions
Expand the possibilities and uses of your favorite Americana Acrylic paints with Americana Additions! Add Make It Stain, Make It Thick, and Marker Maker to any Americana Acrylic color to use them in new and exciting art and diy applications.
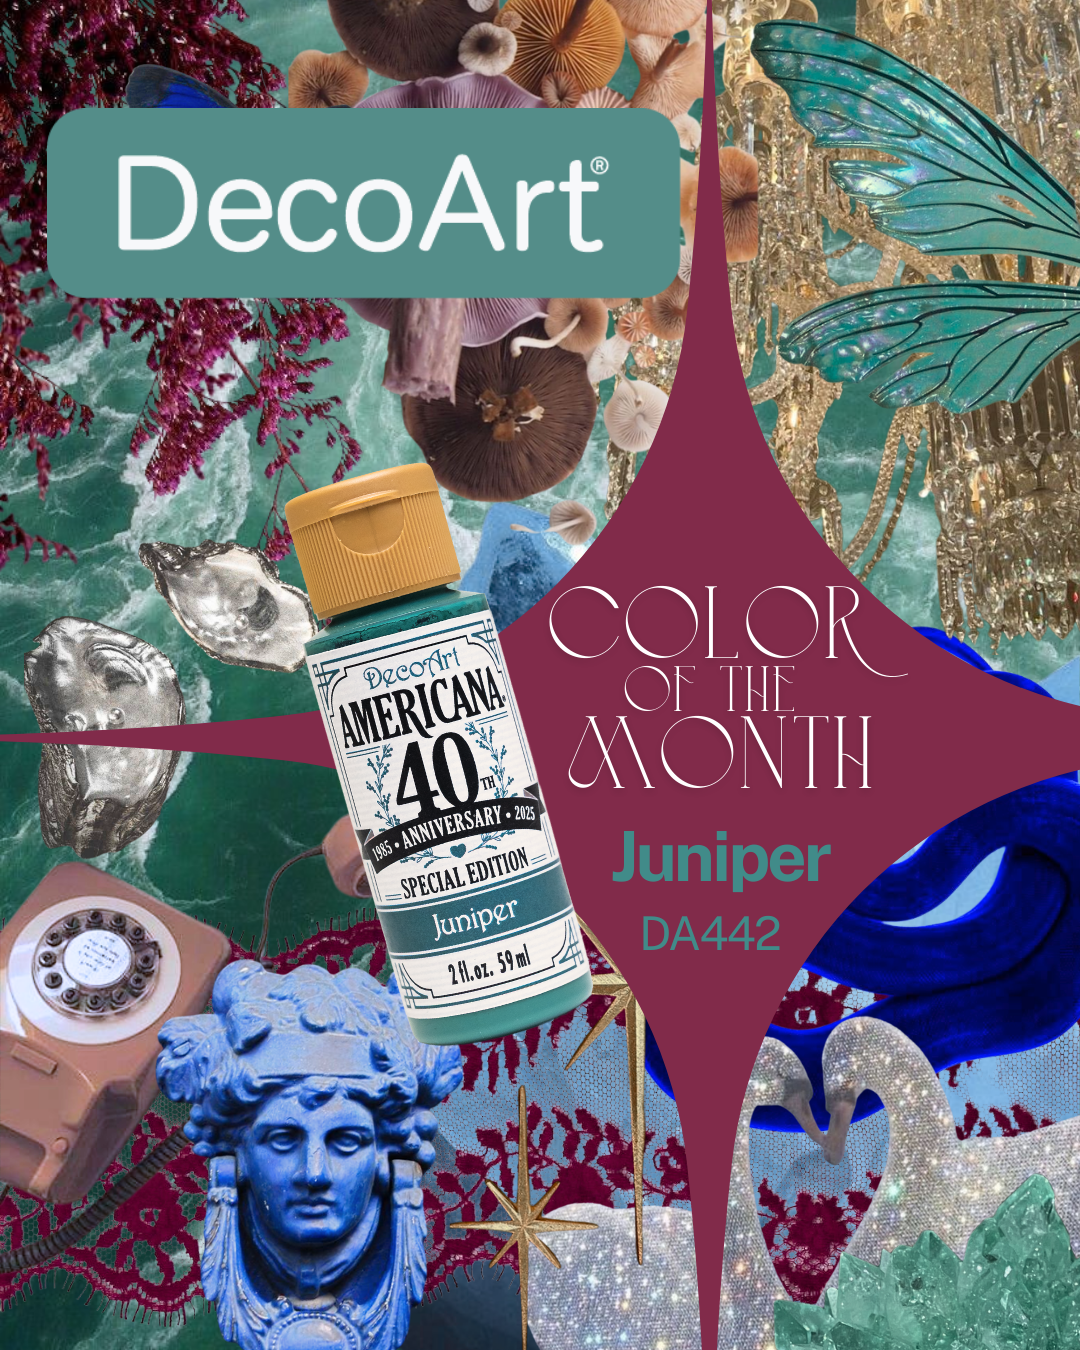
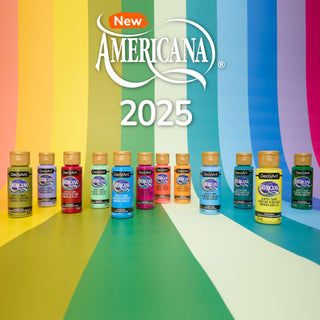
December 2025 Color of the Month: Juniper
Americana Acrylics Juniper is a beautifully complex teal-tone color that sets a perfect mood in fashion, home decor, and art this season.
Let's get social!

