

September 15, 2025
DIY Bug Art wall

Upcycling materials to create something new is always very satisfying. By using cardboard and opaque acrylic paint such as DecoArt DecoEarth or Americana Acrylics, you can achieve a beautiful art wall with minimal cost and effort. This project shows techniques that are completely customizable for whatever your imagination can dream up, whether for a party celebration, holiday decor, or a year-round wall of art.
Level:
Intermediate
Supplies:
Cardboard (any, size dependes on your planned bug size)
DecoArt DecoEarth or Americana Acrylic Paints
Scissors/Xacto Knife
Hot Glue Gun/Glue Sticks
String
Paintbrushes
Need to know:
Customize this project with your own drawing or printed image to trace.
Modify to fit individual preferences (e.g. colors, bug shapes, size)
Use for room decor, party decor, or holiday decor.
Get some products to try
Want to watch the process first?
STEP 1
Gather some recycled cardboard (the largest pieces will determine how big you can go for bug's overall shape). It is nice to have different thicknesses of cardboard to vary the design, but it is not essential. Print out any templates to cut and trace or draw your own template for each bug.


STEP 2
Cut and trace template in layers onto cardboard pieces (e.g., cut outer body as one layer, then trace wings, then trace head, etc.) to create depth once pieces are glued together. When cutting/gluing feet and antennae, draw on an additional tab to be able to glue to the back of the main body shape.


STEP 3
Now it is time to paint! Using DecoArt DecoEarth or Americana paints, you can paint directly onto the cardboard. Both acrylic paints are opaque and have incredible coverage with 1-2 coats. I like a white canvas, so I painted a solid base first. (TIP: draw on details after the basecoat). Have fun with colors and use images of your favorite bugs for color inspiration and placement. Don't be afraid to make up your own bugs to match your decor aesthetic. Use a liner brush to add details, such as spots and veining.


STEP 4
Lay your bugs out on the floor to experiment with how you want to hang them on the wall. Make sure to glue a string to the back of each to hang on the wall.

PIN IT!

Check out MORE of our blogs!
Introducing: Stained Glass Acrylic Paints
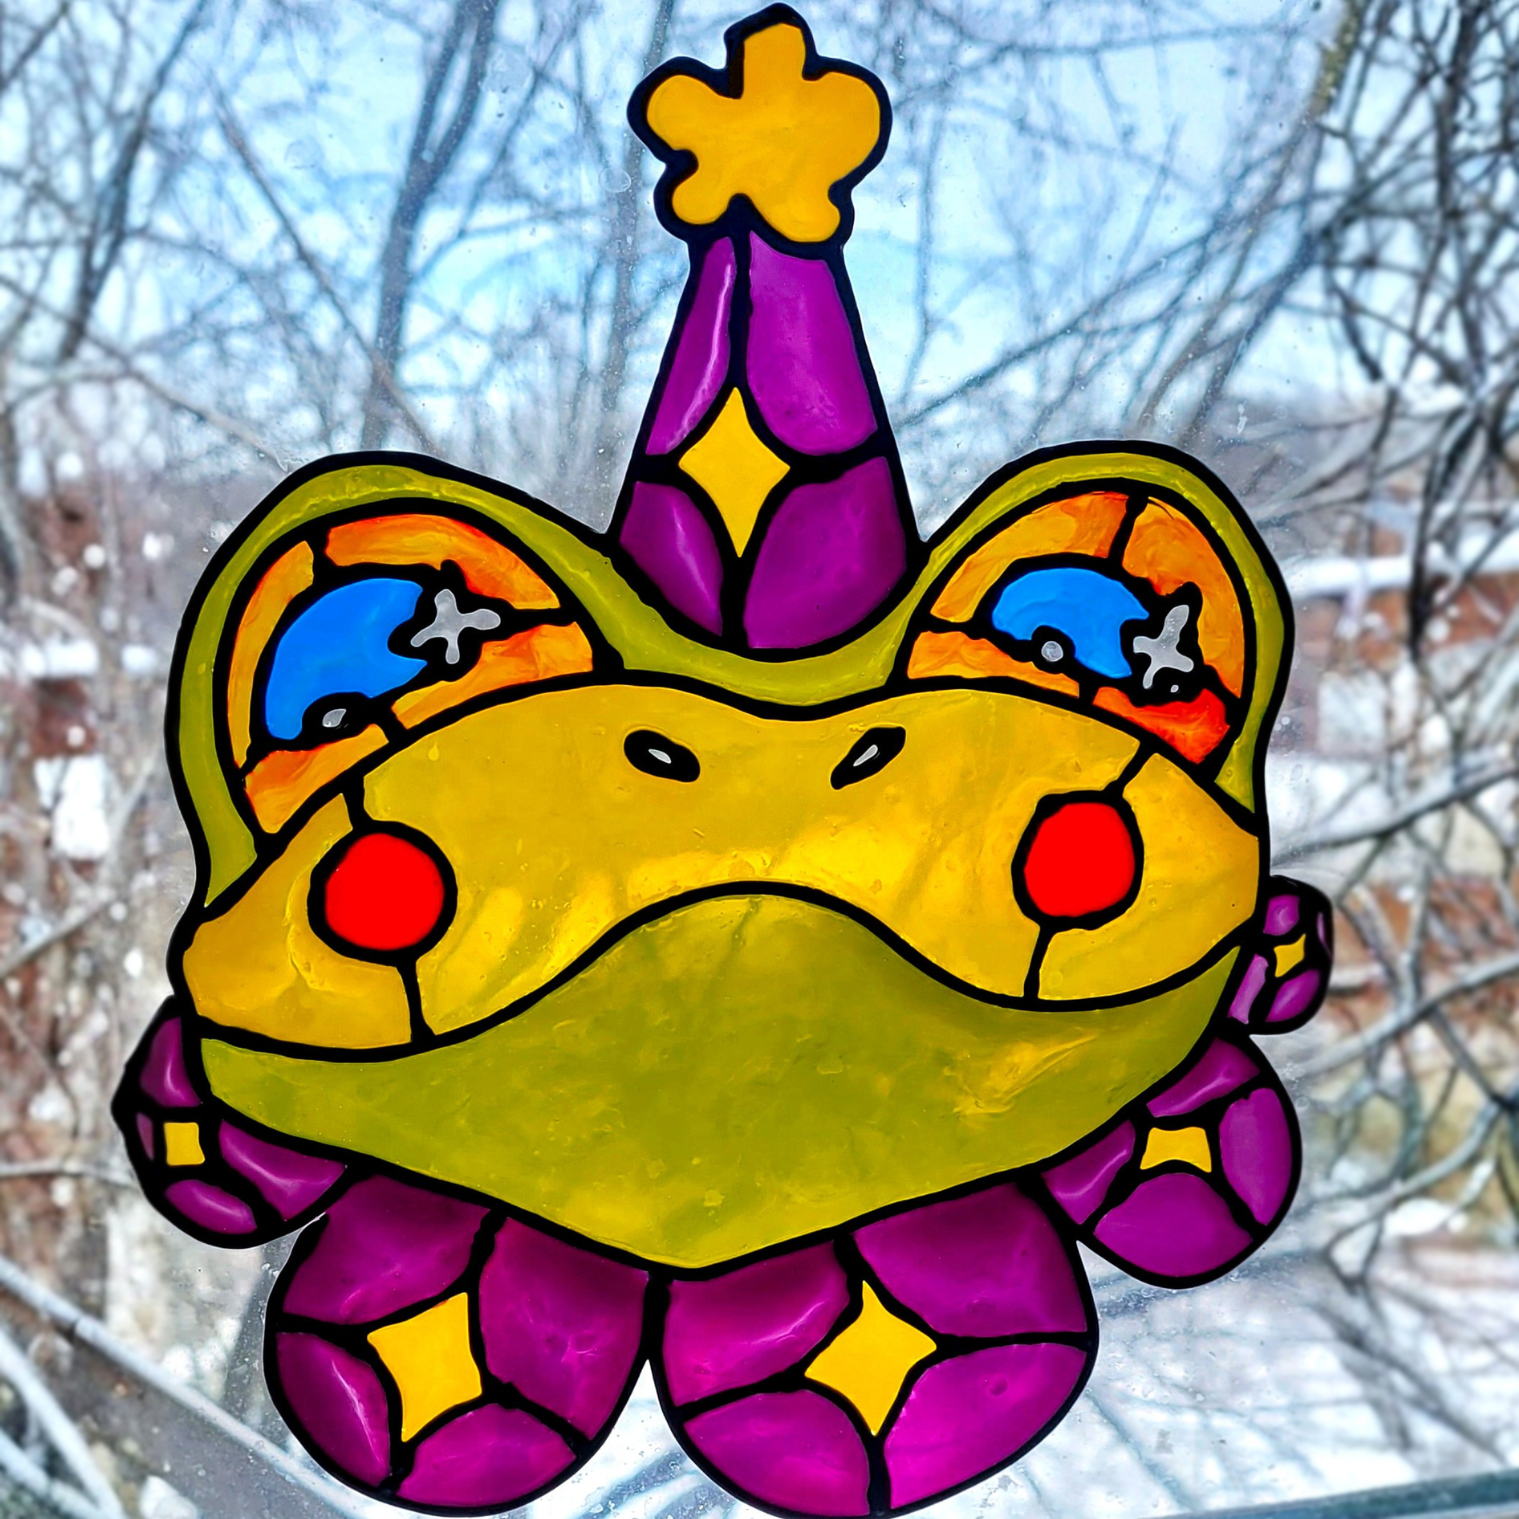
Stained Glass Acrylics are a new and exciting art material to use in your craft, art, and diy applications. Honor the traditional technique of stained glass while using accessible and creative materials! Create your own faux blown glass or stained glass looks on any upcycled translucent surface or even use flexible plastic sheets to cut and create unique sculptural and functional décor.
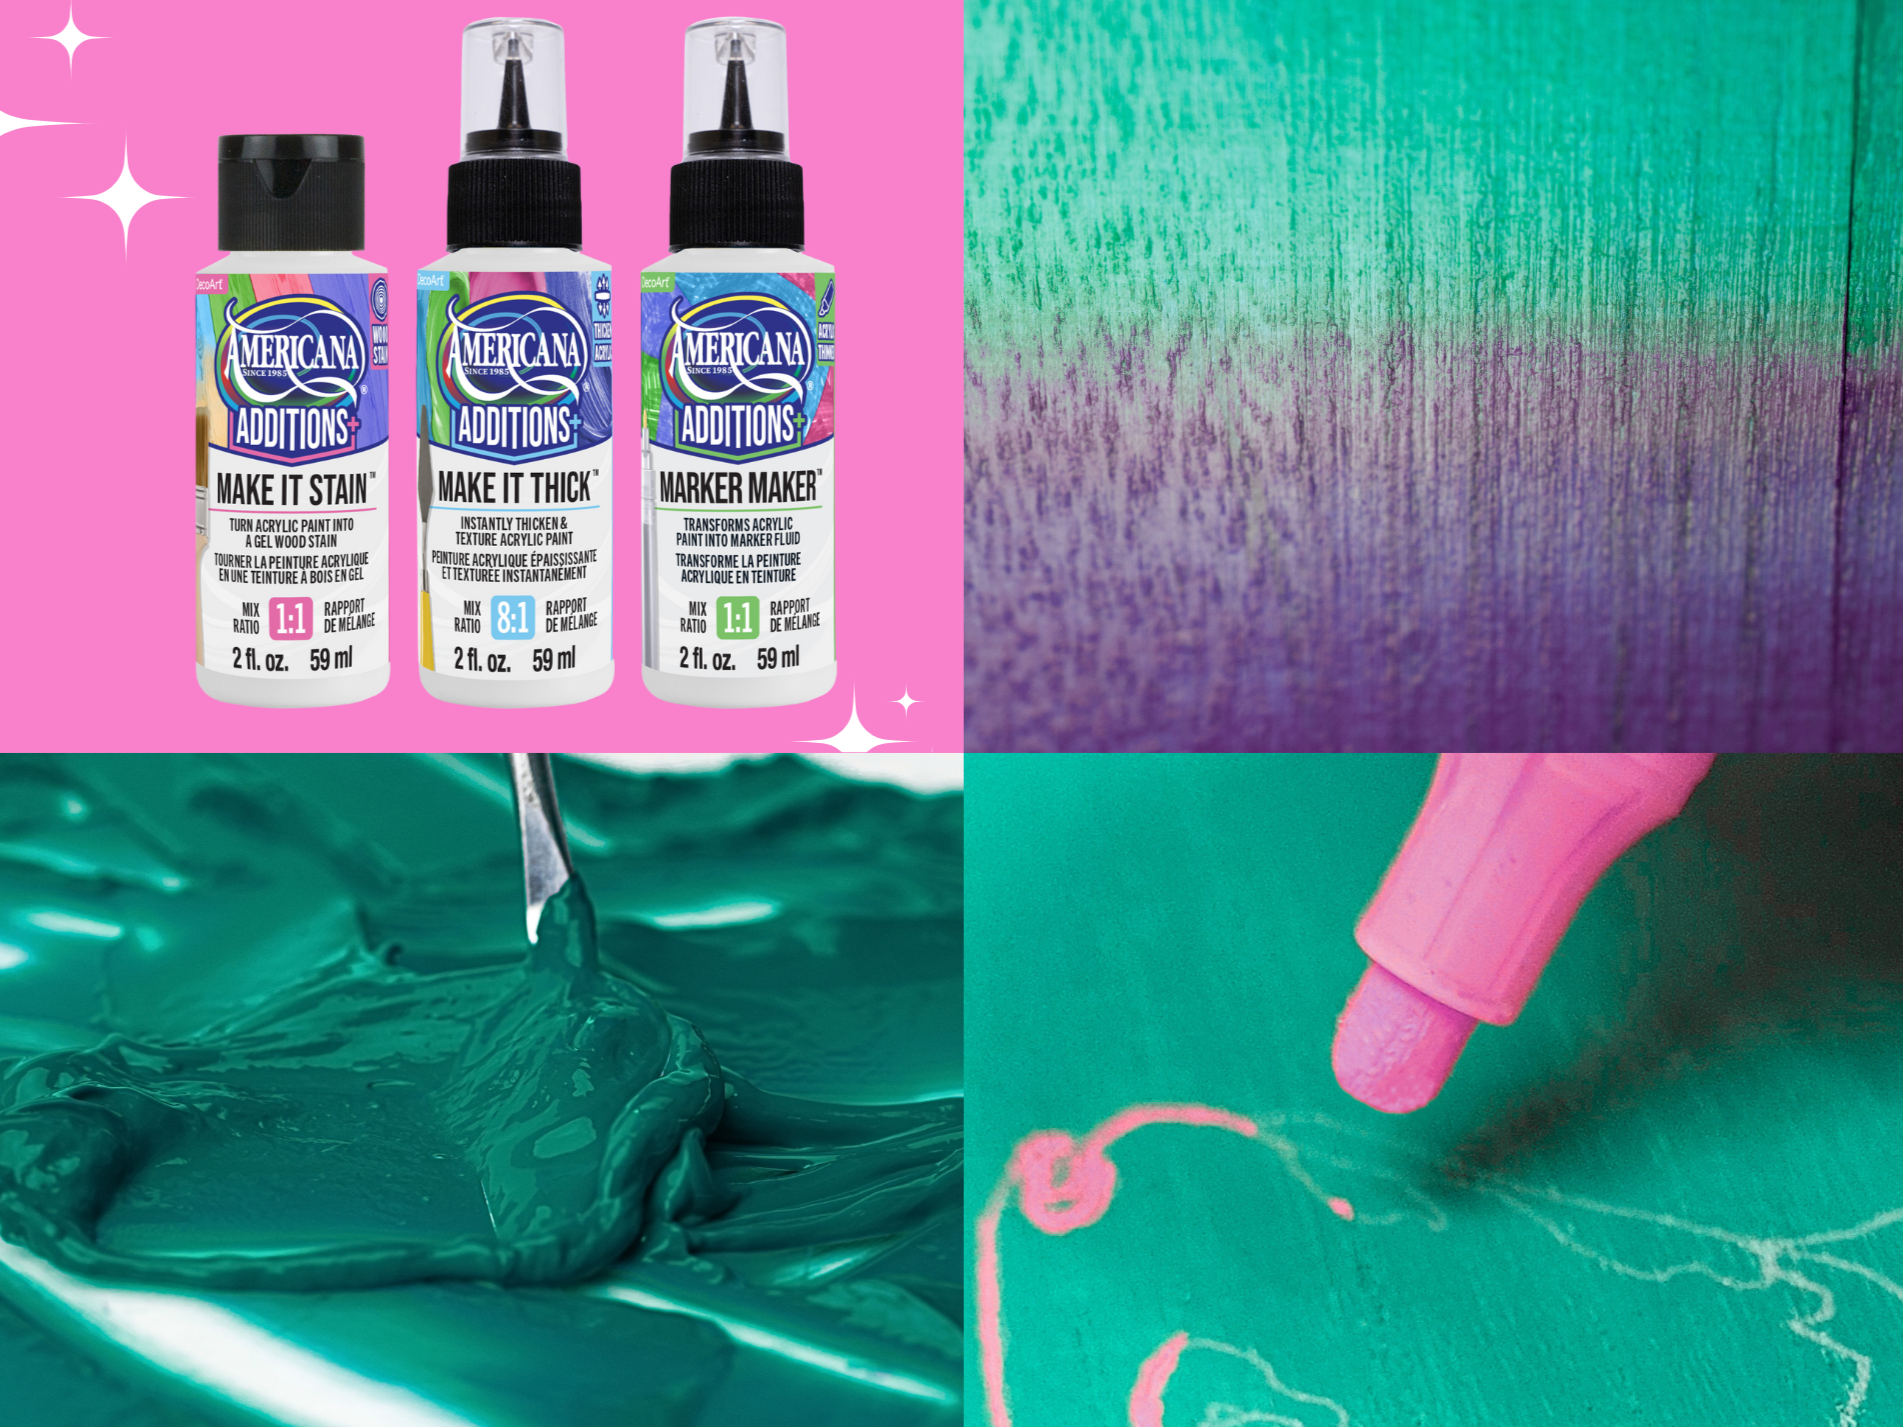
Introducing: Americana Additions
Expand the possibilities and uses of your favorite Americana Acrylic paints with Americana Additions! Add Make It Stain, Make It Thick, and Marker Maker to any Americana Acrylic color to use them in new and exciting art and diy applications.
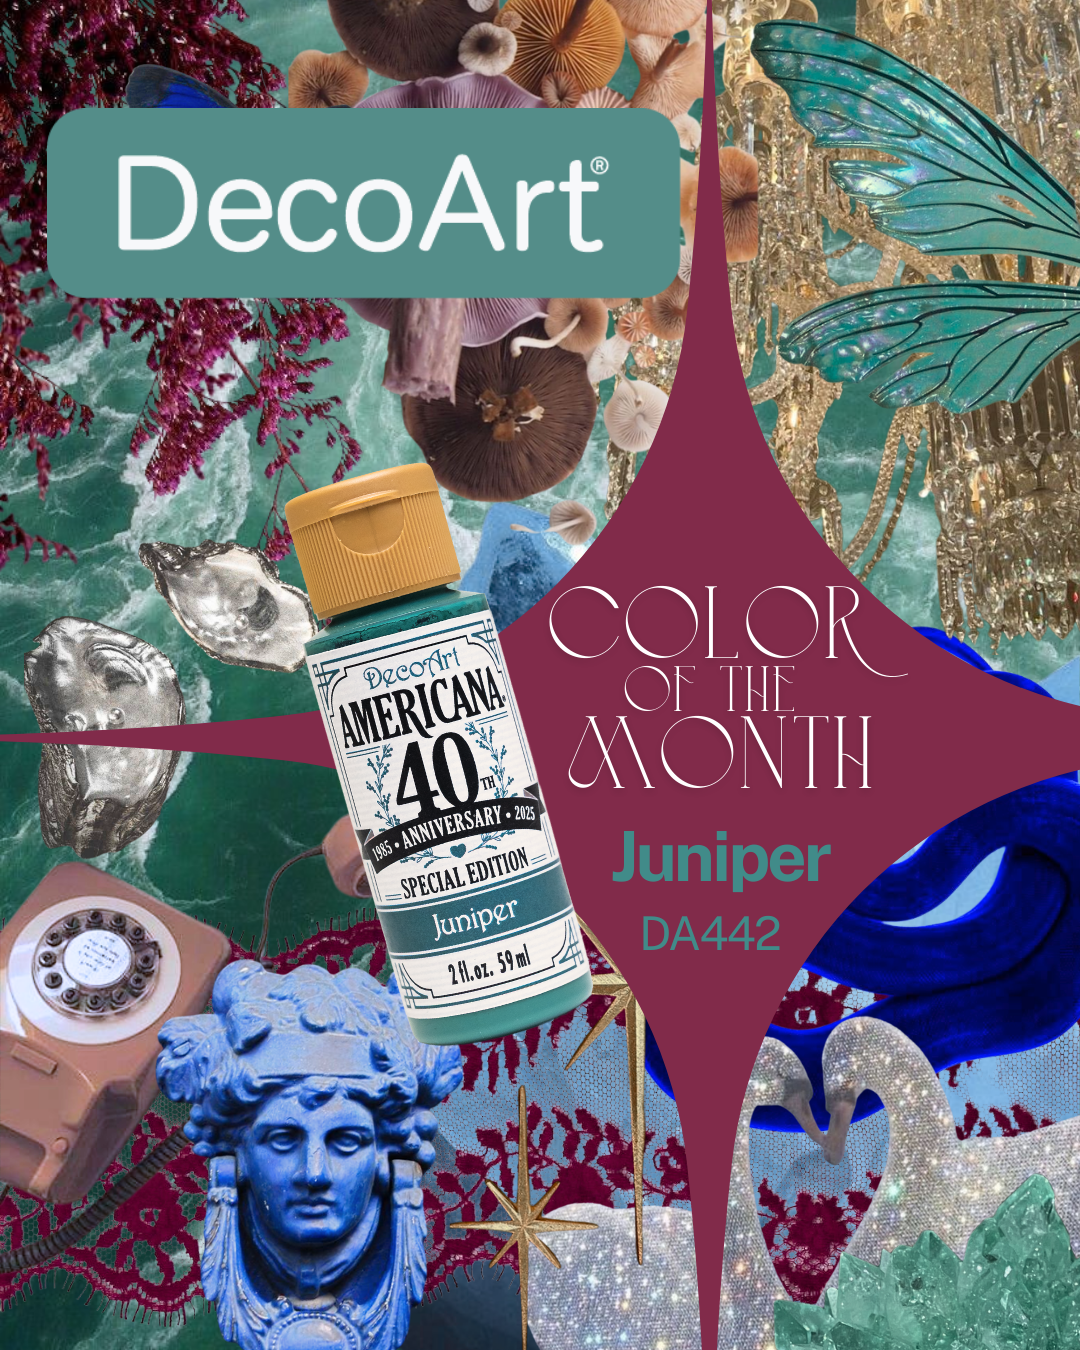
December 2025 Color of the Month: Juniper
Americana Acrylics Juniper is a beautifully complex teal-tone color that sets a perfect mood in fashion, home decor, and art this season.
Let's get social!

